
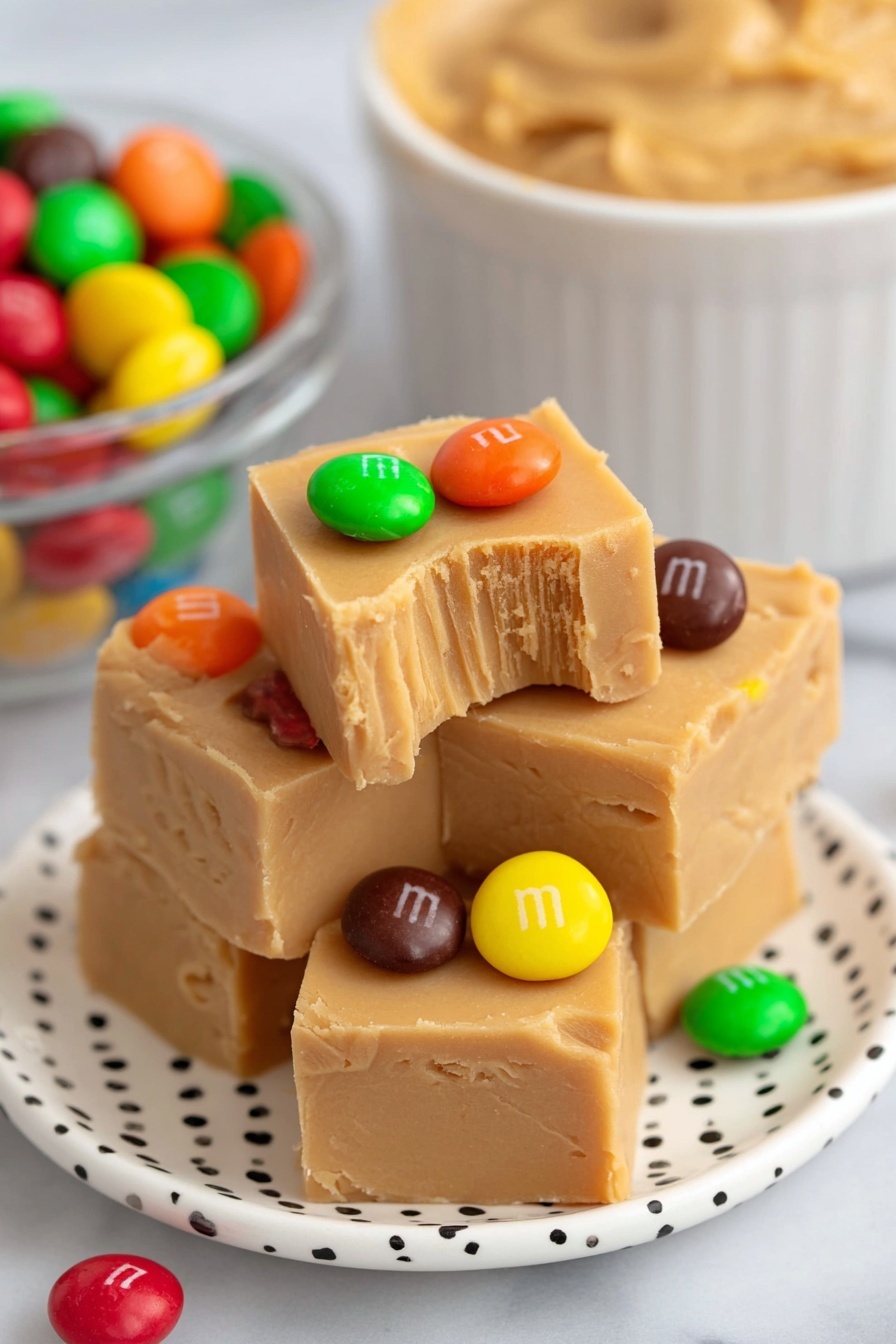
If you’re craving a treat that melts in your mouth and cups all that peanut butter goodness into one dreamy bite, you’ve come to the right place. This Creamy Peanut Butter Fudge Recipe is hands down one of my all-time favorites—super easy to make, yet so indulgent it feels like a fancy dessert. Seriously, once you try it, fudge nights in will never be the same again. Let’s dive into the magic behind this classic creamy peanut butter delight!
Why You’ll Love This Recipe
- Super Simple Ingredients: You probably already have everything in your pantry, so it’s fuss-free and fast.
- No Candy Thermometer Needed: Unlike some fudge recipes, this one’s all about mixing and chilling—easy peasy for beginners!
- Customizable & Fun: You can add colorful M&M’s or skip ’em for a classic look, making it your own.
- Perfect Texture: It’s irresistibly creamy with just the right amount of sweetness—trust me, people go crazy for it!
Ingredients & Why They Work
Every ingredient in this Creamy Peanut Butter Fudge Recipe plays a starring role in creating that silky, melt-in-your-mouth texture. Knowing the why behind your ingredients helps you pick the best ones and avoid any surprises in your batch.
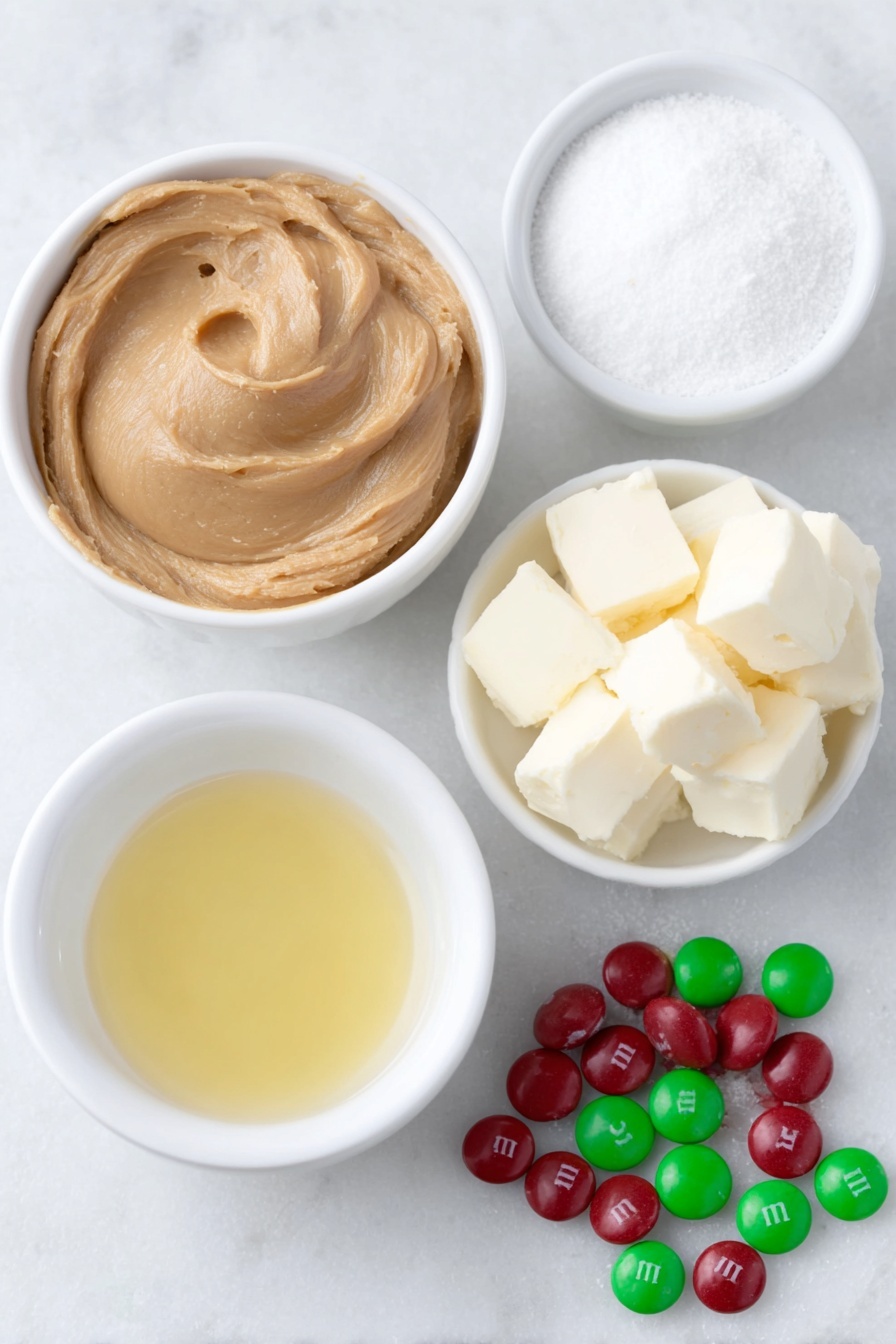
- Unsalted Butter: Adds richness and creaminess without extra salt—plus, it helps the fudge set smoothly.
- Creamy Peanut Butter: The key flavor! I recommend regular creamy peanut butter (avoid natural or no-stir types for this one) because the texture and sweetness balance perfectly.
- Powdered Sugar: Sweetens and thickens the fudge; sift it to avoid lumps and get that flawless finish.
- Vanilla Extract: Enhances depth of flavor—don’t skip it, even a little lift makes a big difference.
- Water: Just a splash to help keep the parchment paper in place when spreading the fudge—little trick that makes life easier!
- M&M’s (Optional): For a festive pop of color and a bit of crunch on top, perfect for gift giving or party trays.
Make It Your Way
I love tweaking this Creamy Peanut Butter Fudge Recipe to fit the mood or occasion. Sometimes I stir in mini chocolate chips for a double-chocolate-peanut butter vibe, or a pinch of sea salt on top for that irresistible sweet-and-salty twist. It’s all about making it yours, so don’t be shy about experimenting a little!
- Peanut Butter Swap: I’ve tried Skippy and JIF brands—each gives a slightly unique flavor profile (JIF is a bit saltier, which I actually like!), so pick your fave and see how it changes the fudge’s personality.
- Add-Ins & Toppings: Chopped nuts, crushed pretzels, or festive sprinkles work magic. Try popping on colorful M&M’s if you’re making this for a holiday or birthday.
- Dairy-Free Version: Using a plant-based butter substitute works well for me—just keep your peanut butter creamy and not natural to ensure smooth texture.
Step-by-Step: How I Make Creamy Peanut Butter Fudge Recipe
Step 1: Prepare Your Pan Like a Pro
Start by cutting a piece of parchment paper to fit your 8×8-inch pan—this is seriously a game changer. I use the pan’s bottom as a template to get the sizing just right. Then, pour a tablespoon of water onto the pan’s bottom before lining it with the parchment paper. The water keeps the paper stuck in place while you spread your fudge, making the whole smoothing process so much easier. Plus, don’t forget to let the parchment hang over the sides—that way, lifting the chilled fudge out is a breeze later.
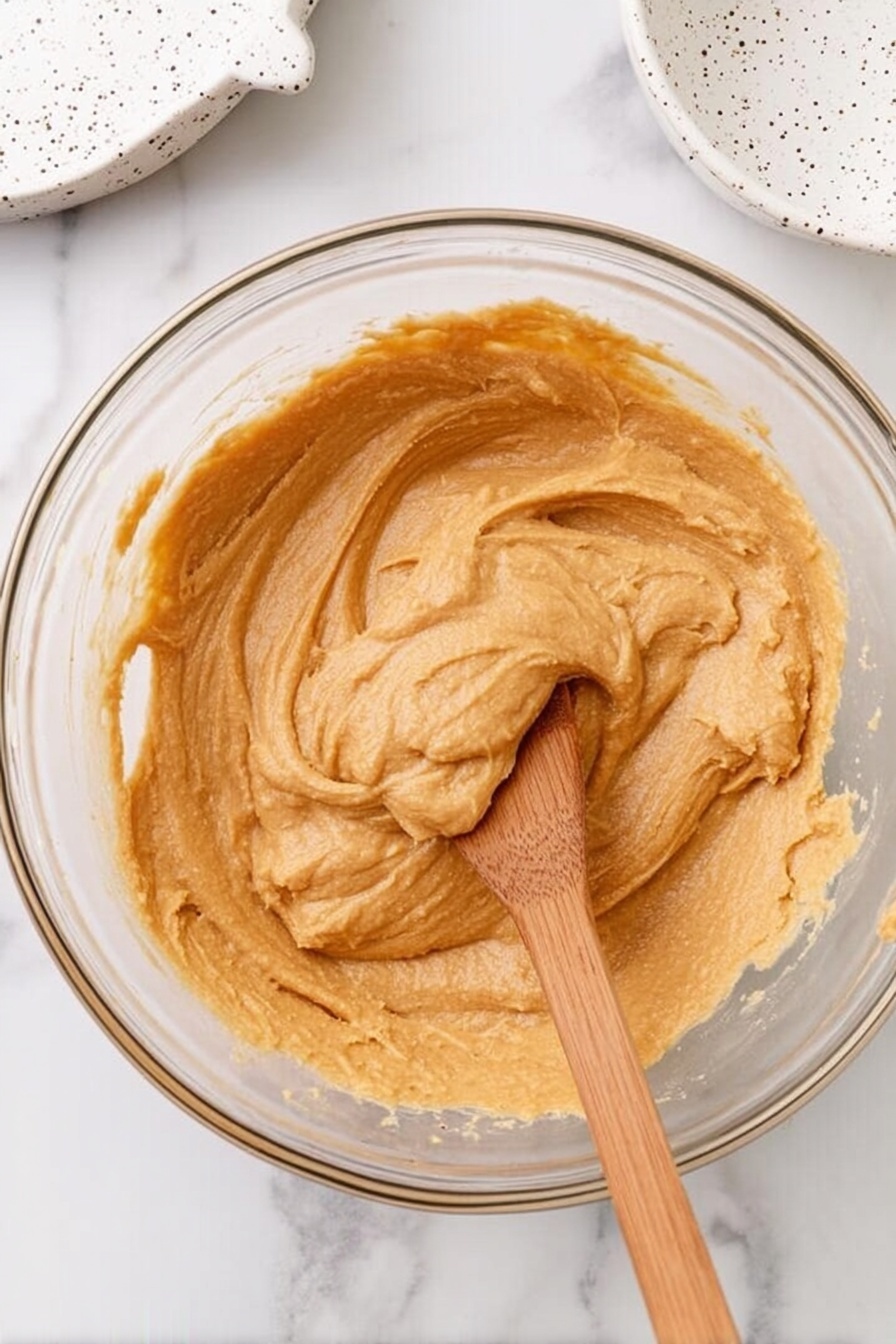
Step 2: Melt Butters Together Gently
In a microwave-safe bowl, combine the unsalted butter and creamy peanut butter. Heat for 60 seconds, then stir it up well. The goal here is a silky, blended base—not overheated, or you risk altering the texture. If your microwave runs hot, heat in 20-second bursts instead and stir between intervals.
Step 3: Vanilla and Powdered Sugar Magic
Mix in the vanilla extract thoroughly—it’s subtle but adds so much depth. Then, gradually add the sifted powdered sugar, about a cup at a time, stirring well after each addition. The mixture will thicken up and get a little tough to stir—don’t worry, that’s exactly what you want. Keep going until there are no white streaks or lumps. Patience here means your fudge will be perfectly smooth.
Step 4: Pour, Smooth, and Chill
Transfer your rich, creamy fudge into the prepared pan. Use a spatula to spread it out evenly. Then, place the parchment piece you cut earlier on top of the fudge and gently smooth it out with your hands or a spatula—this keeps the top perfectly flat and protects the fudge while chilling. Now, pop it in the fridge for at least 2 hours. This part requires some patience, but trust me, it’s worth it.
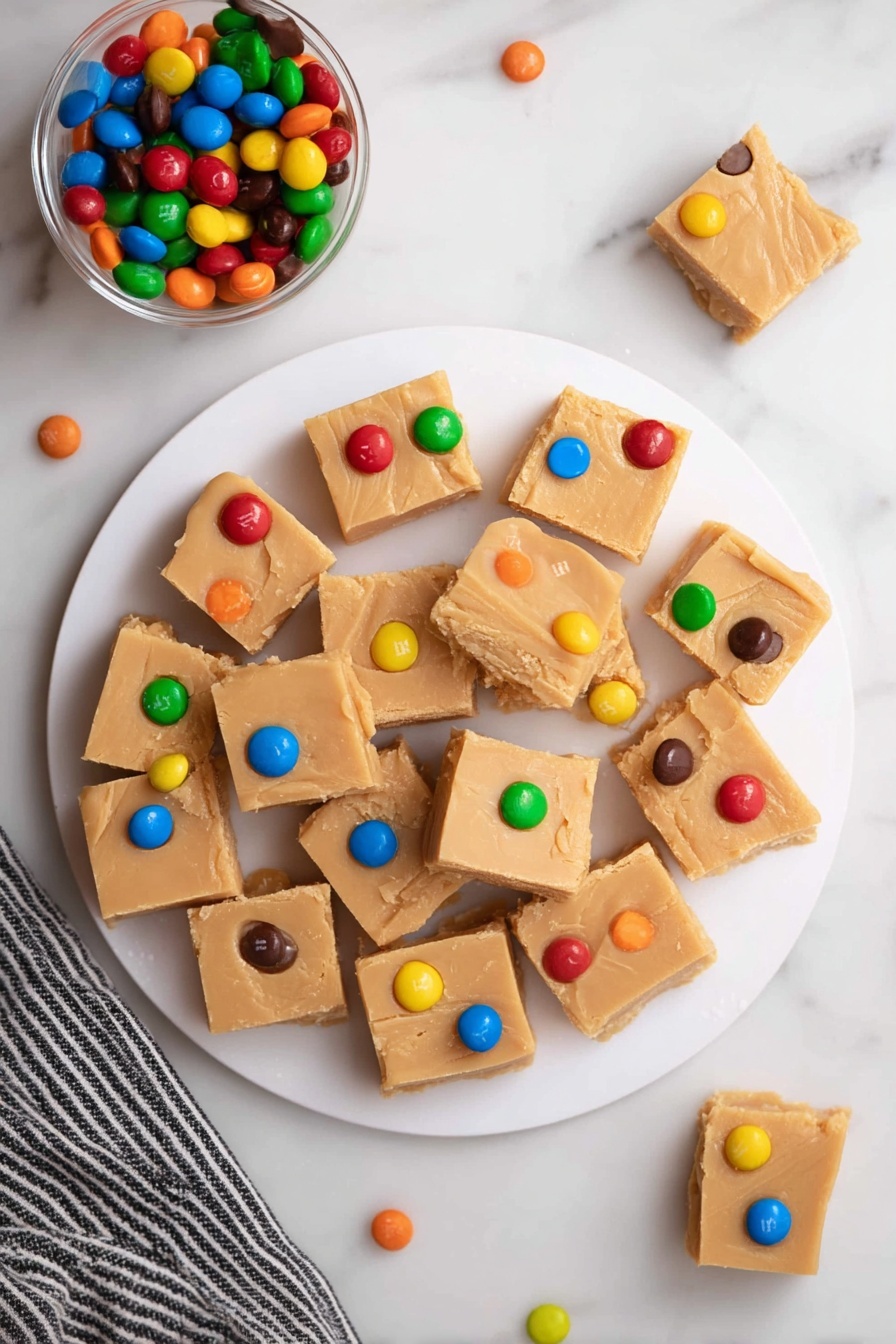
Step 5: Score, Slice, and Serve
Once chilled, remove the fudge and peel off the top parchment. Before lifting it out, I pre-score it with a sharp knife to mark your serving sizes—this tip makes slicing much neater. Lift the fudge out using the parchment overhang and place on a cutting board. Run your knife under hot water, dry, then slice along your score lines for clean cuts every time. If you like, add 2-3 red and green M&M’s on each piece for an extra festive touch (I always get compliments on those!).
Pro Tips for Making Creamy Peanut Butter Fudge Recipe
- Choosing the Right Peanut Butter: Avoid natural or no-stir peanut butter; they can separate and change the fudge texture. I stick with brands like Peter Pan or Skippy for the smoothest result.
- Sifting Powdered Sugar: Sift your powdered sugar before adding to prevent lumps, which can harden and ruin your fudge’s smoothness.
- Warming the Knife for Slicing: Running your sharp knife under hot water and drying it makes cutting through thick fudge neat and easy without sticking.
- Water Under Parchment Hack: Trust me, adding that tablespoon of water under the parchment stops it from shifting—makes spreading and leveling your fudge foolproof.
How to Serve Creamy Peanut Butter Fudge Recipe
Garnishes
I usually keep it classic with just a few colorful M&M’s on top of each fudge piece. It’s an easy way to brighten the presentation, especially for holidays or parties. If I’m feeling fancy, a little sprinkle of flaky sea salt adds such a lovely contrast to that sweet, creamy peanut butter flavor. You could also try crushed peanuts or a drizzle of melted chocolate for extra flair.
Side Dishes
This fudge pairs beautifully with a simple cup of coffee or a cold glass of milk to balance out the sweetness. I’ve also served it alongside fresh fruit platters or a light fruit salad to keep things grounded and refreshing, especially during gatherings.
Creative Ways to Present
For special occasions, I like arranging the fudge squares on a tiered dessert stand, sprinkled with edible gold dust or festive sprinkles. Wrapping individual pieces in parchment paper tied with twine makes for adorable edible gifts, too. If you’re hosting, placing the fudge on pretty trays with small tongs invites everyone to help themselves without sticky fingers.
Make Ahead and Storage
Storing Leftovers
I store leftover fudge in an airtight container, usually layered with parchment paper so the pieces don’t stick together. At room temperature, it stays tasty for about 3 to 4 days—perfect if you’re planning to gobble it up quickly! For longer storage, I keep it in the fridge where it lasts about a week.
Freezing
Freezing fudge is a fantastic way to keep it fresh for up to 2-3 months. I wrap pieces tightly in plastic wrap then place them in an airtight freezer bag to prevent freezer burn. When I’m ready to indulge, I just thaw the fudge right in the bag at room temperature for a couple hours—simple and the texture stays just right.
Reheating
This fudge really doesn’t need reheating, but if you like your bites slightly softer, I leave the pieces out at room temp for about 10 minutes before serving. Heating it up in the microwave isn’t my favorite because it can quickly get too melty, but a few seconds at low power works if you’re careful.
FAQs
-
Can I use natural peanut butter for this fudge recipe?
It’s best to avoid natural peanut butter in this recipe because its oil tends to separate, which affects the fudge’s texture and firmness. Stick to creamy, regular-style peanut butter without oil separation for the perfect creamy fudge consistency.
-
How do I know when the fudge is set?
After chilling in the refrigerator for 2 hours, the fudge should feel firm and set to the touch but still creamy inside. If it’s still soft or sticky, give it a little more time to chill before cutting and serving.
-
Can I make this fudge ahead for a party?
Absolutely! This Creamy Peanut Butter Fudge Recipe actually tastes better when the flavors meld after a day or two. Just keep it refrigerated or freeze it until you’re ready to serve, then slice and garnish fresh.
-
What if my fudge is too soft or too hard?
If it’s too soft, try adding a bit more powdered sugar next time and make sure it’s fully chilled. If it’s too hard, it could be from too much powdered sugar or chilling it too long—letting it sit at room temp for a bit helps soften it.
Final Thoughts
Honestly, this Creamy Peanut Butter Fudge Recipe holds a special place in my heart because it’s been my go-to gift and comfort snack for years. The way it comes together so quickly with simple ingredients, yet delivers that luxurious, nostalgic fudge flavor—it’s magic. I can’t wait for you to make it, share it, and fall in love with it just like I did. Trust me, once you have a batch of this fudge chilled and ready, you’ll have yourself a new favorite snack for life!
Print
Creamy Peanut Butter Fudge Recipe
- Prep Time: 10 minutes
- Cook Time: 2 hours
- Total Time: 2 hours 10 minutes
- Yield: 64 servings
- Category: Dessert
- Method: No-Cook
- Cuisine: American
- Diet: Vegetarian
Description
This easy and creamy Peanut Butter Fudge recipe combines smooth peanut butter and powdered sugar for a rich, melt-in-your-mouth treat that’s perfect for any occasion. With simple ingredients and no baking required, it’s a quick and delicious dessert to satisfy your sweet tooth.
Ingredients
Fudge Base
- 1 cup unsalted butter
- 1½ cups creamy peanut butter (NOT the natural or natural no-stir varieties)
- 2 teaspoons vanilla extract
- 3¼ cups powdered sugar, sifted
Pan Preparation
- 1 tablespoon water (to keep parchment paper in place)
Optional Garnish
- M&M’s, 2-3 pieces per fudge piece
Instructions
- Prepare parchment paper: Using the bottom of an 8×8 inch pan as a template, cut out a piece of parchment paper to fit inside the pan with overhangs to lift the fudge later.
- Line the pan: Pour 1 tablespoon of water into the bottom of the 8×8 pan to keep the parchment paper from shifting, then line the pan with the prepared parchment paper.
- Melt butter and peanut butter: In a medium microwave-safe bowl, combine 1 cup unsalted butter and 1½ cups creamy peanut butter. Microwave for 60 seconds, then carefully remove and stir until smooth.
- Add vanilla: Stir in 2 teaspoons vanilla extract until fully incorporated.
- Incorporate powdered sugar: Gradually add 3¼ cups sifted powdered sugar, one cup at a time, stirring thoroughly with a large spoon after each addition until the mixture is smooth and no lumps or white streaks remain.
- Pour fudge mixture into pan: Using a spatula, transfer and evenly spread the fudge mixture in the prepared 8×8 pan.
- Smooth fudge: Place the pre-cut piece of parchment paper on top of the fudge and use it to smooth the surface. Leave this piece on top.
- Chill fudge: Refrigerate the fudge for 2 hours until firm.
- Score fudge: Remove from refrigerator and take off the top parchment paper. Using a sharp knife, pre-score the fudge into 64 pieces but do not cut all the way through while it remains in the pan.
- Remove fudge from pan: Lift the fudge out using the parchment paper overhangs and set it on a cutting board.
- Slice fudge: Warm a large sharp knife under hot water, dry it, and then cut the fudge along the scored lines for clean slices.
- Add garnish: Place 2-3 red and green M&M’s on top of each fudge piece for decoration, if desired.
- Store fudge: Keep fudge in an airtight container at room temperature for 3-4 days or refrigerate for up to 1 week.
Notes
- Store fudge in an airtight container; it lasts 3-4 days at room temperature or 1 week refrigerated.
- Freeze fudge for 2-3 months by wrapping in plastic wrap and placing in an airtight freezer bag. Defrost to room temperature before serving.
- Different peanut butter brands affect fudge color and sweetness: Peter Pan is darker and sweeter; Skippy is lighter; Reese’s has a slight orange hue; JIF is lightest in color and slightly saltier.
- Use creamy peanut butter varieties that are not natural or no-stir for best consistency.
- Heating the knife before slicing helps achieve smooth, clean cuts.
Nutrition
- Calories: 165 kcal
- Sugar: 17 g
- Sodium: 35 mg
- Fat: 10 g
- Saturated Fat: 5 g
- Unsaturated Fat: 4 g
- Trans Fat: 0 g
- Carbohydrates: 18 g
- Fiber: 0 g
- Protein: 3 g
- Cholesterol: 12 mg


