
If you’re craving a sweet treat that’s both nostalgic and oh-so-satisfying, you’ve landed in the right place. Seriously, once you master this recipe, you’ll find yourself reaching for peanut butter and chocolate way more often.
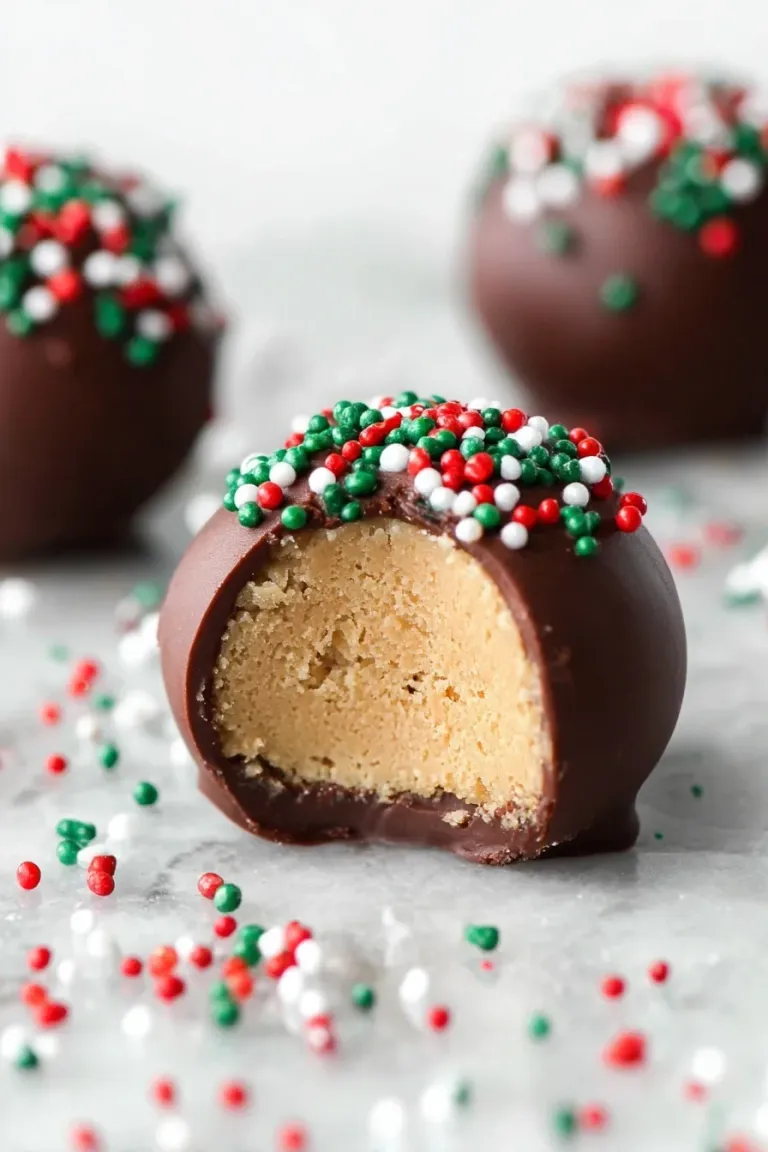
Why You’ll Love This Recipe
- Simple Ingredients: You probably already have all of these in your pantry, making it a quick fix sweet treat.
- No-Bake Delight: No oven needed—perfect for hot days or last-minute dessert emergencies.
- Customizable: Swap sprinkles or try candy melts to suit any occasion or craving.
- Kid-Friendly & Crowd-Pleasing: Easy for little helpers to pitch in, and they vanish fast at gatherings!
Ingredients & Why They Work
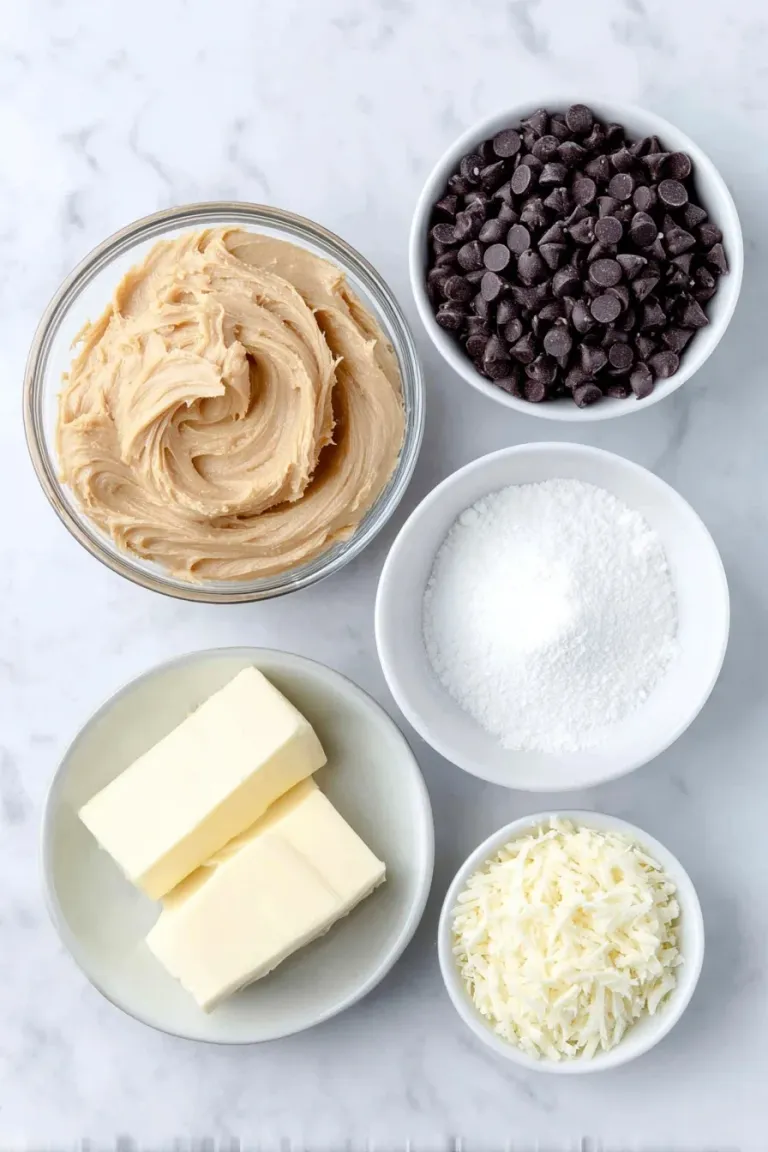
The magic of this Chocolate Peanut Butter Balls Recipe lies in its ultra-simple but perfectly balanced ingredients. Each one plays a crucial role — the peanut butter brings that rich, nutty flavor, butter adds smoothness, powdered sugar sweetens and helps the mixture hold shape, and the vanilla? It just pulls everything together beautifully.
 Save
- Chunky or Creamy Peanut Butter: The star! Go creamy for smooth balls, but chunky adds a nice texture if you’re feeling fancy.
- Butter (softened): Helps bind the ingredients and makes the texture luscious.
- Powdered Sugar: Sweetens and gives the mixture body—don’t try granulated sugar here; it won’t blend properly.
- Vanilla Extract: Just a splash to round out the flavors and deepen the taste.
- Chocolate Chips: Melts into a silky coating. It’s best to use semi-sweet for that perfect chocolate-peanut butter harmony.
- Paraffin Wax (grated): This is the secret to that smooth, firm chocolate shell that doesn’t melt off your fingers. You can skip this if you use candy melts instead.
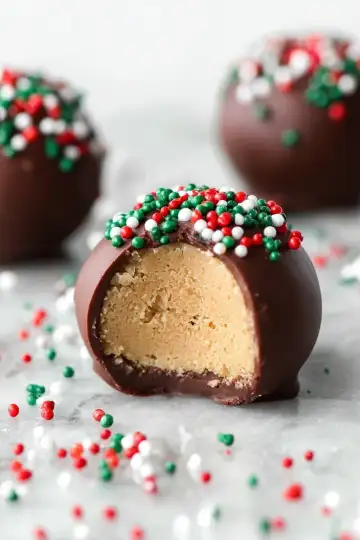
- Sprinkles (optional): To dress ‘em up for holidays or parties—totally optional but fun!
Make It Your Way
Feel free to experiment with your favorite chocolate types or toppings!
- Peanut Butter Swap: Got almond butter? Use it instead! The recipe works great with other nut butters if you want to mix things up.
- Make It Vegan: Swap butter for coconut oil and use vegan chocolate chips.
- Add-Ins: Toss in mini chocolate chips or chopped nuts inside the peanut butter balls for an extra crunch.
Before You Start
- Take out early: Soften the ½ cup of butter so it blends smoothly into the peanut butter.
- Double boiler: Set up a double boiler for the chocolate; grate the paraffin wax first, or use Candy Melts instead.
- Tray: Line a rimmed sheet pan with wax or parchment paper, and make room in the freezer for it.
- Timing: The coated balls need about 30 minutes in the freezer to harden.
Step-by-Step: How to Make Chocolate Peanut Butter Balls Recipe
 Save
Step 1: Whip Up the Peanut Butter Mixture
Start by combining your peanut butter, softened butter, powdered sugar, and vanilla extract in a large bowl. Use a sturdy spoon or your hands for mixing because it gets thick and sticky fast. If your peanut butter is too cold, it won’t blend well—so let it sit out a bit if needed. The goal here is a smooth, even dough that you can roll into balls without it crumbling or being overly sticky.
Step 2: Roll Into Perfectly Sized Balls
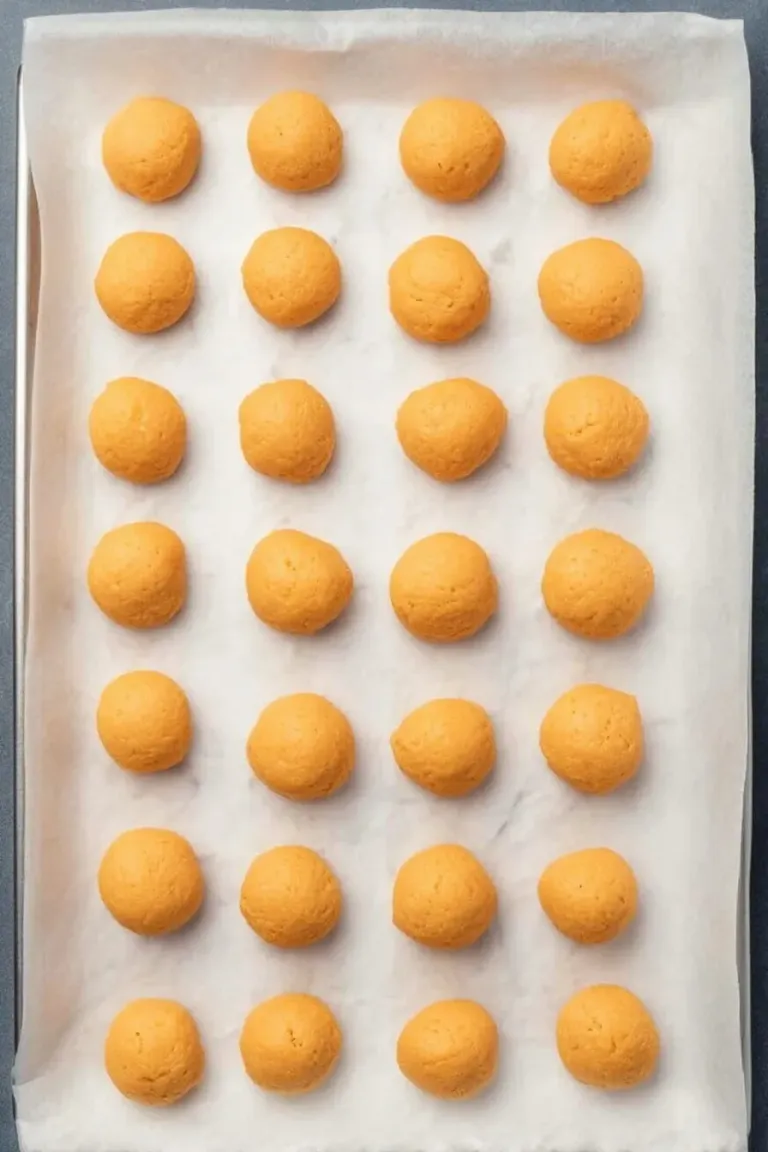
Next, roll the mixture into about 25 equal-sized balls. To keep the process smooth, wet your hands slightly so the mixture doesn’t stick, and keep the balls fairly small—bite-sized is best. If the dough feels too sticky, pop it in the fridge for 10 minutes to firm up. Place each ball on a wax paper-lined tray so they don’t stick together.
Step 3: Melt the Chocolate and Wax for the Coating
Set up your double boiler by bringing water to a rolling boil in a pot, then place a heatproof bowl on top (making sure it doesn’t touch the water). Add your chocolate chips and grated paraffin wax to this bowl and stir gently until the mixture is smooth and velvety. If you go the candy melts route instead, just follow their package instructions—no wax needed! This chocolate shell is what gives the peanut butter balls that irresistible snap.
Step 4: Dip and Decorate
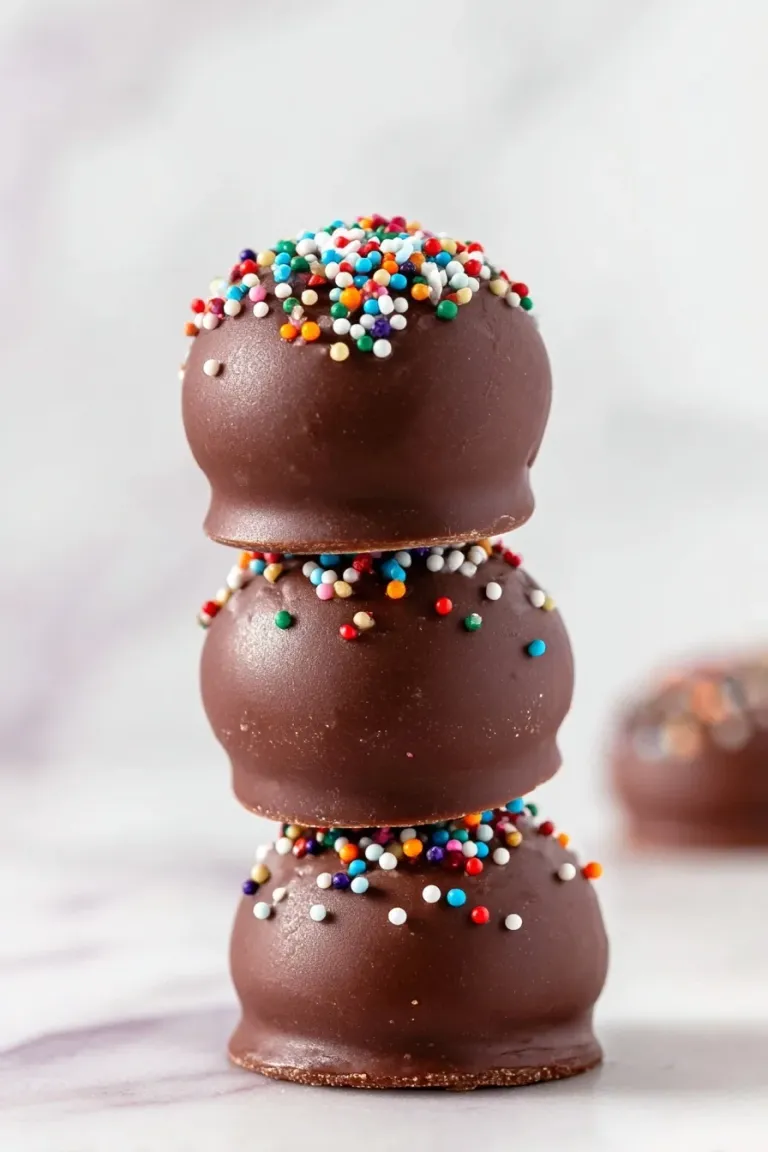
Use a spoon or fork to dip each peanut butter ball into the melted chocolate, making sure it’s fully coated. Then gently shake off excess chocolate and place it back on your tray. If you’re feeling festive, sprinkle holiday-themed sprinkles or drizzle white chocolate over the top. These little touches make them look super cute and perfect for gifting!
Step 5: Chill Until Firm
Pop your tray into the freezer for about 30 minutes to let the chocolate shell harden nicely. This part is key—rushing the chilling step can result in chocolate that’s soft and messy. Once firm, they’re ready to enjoy or pack away.
Pro Tips for Making Chocolate Peanut Butter Balls Recipe
- Keep Ingredients at Room Temperature: Cold peanut butter or butter can make mixing a pain. Soften and let them warm up a bit before starting.
- Use a Double Boiler for Melting Chocolate: This prevents scorching and keeps your chocolate smooth and shiny.
- Work Quickly During Dipping: Chocolate sets fast, especially if it’s cooled, so dip one or two balls at a time and keep the bowl warm.
- Avoid Sticky Hands: Lightly wet or oil your hands to roll balls easily and avoid the mixture sticking all over you.
How to Serve Chocolate Peanut Butter Balls Recipe
 Save
Garnishes
Drizzle a little white chocolate over the dark chocolate coating for a pretty contrast. Sometimes, a pinch of sea salt on top makes the peanut butter flavor pop like crazy—it’s a tiny detail that takes these from good to unforgettable.
Side Dishes
These peanut butter balls are rich, so pair them with something light like fresh fruit slices or a handful of nuts to balance the richness. They make a great dessert after a casual meal or alongside coffee and tea at a small get-together.
Creative Ways to Present
For holiday parties, serve them on a tiered platter with assorted nuts and dried fruits to make a charming dessert spread that looks professional but takes minimal effort.
Make Ahead and Storage
Storing Leftovers
Just make sure they’re not exposed to moisture to keep that chocolate shell looking shiny.
Freezing
Freezing is a lifesaver if you want to prep in advance. They keep well for up to three months and thaw quickly when taken out of the freezer—you can eat them chilled or let them sit out for a few minutes for a softer bite.
Reheating
Don’t reheat these because they’re best cold or at room temp. But if you want to soften them for dipping or drizzling extra chocolate, let them sit at room temperature for about 10 minutes. Avoid microwaving directly as it can ruin the chocolate shell’s texture.