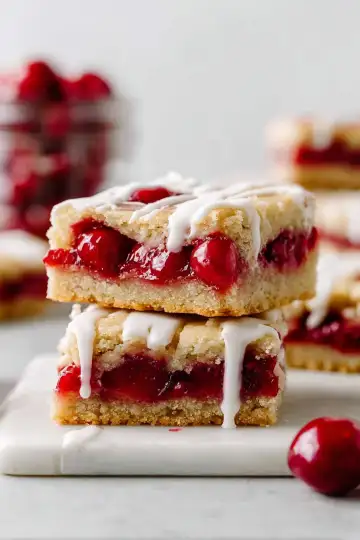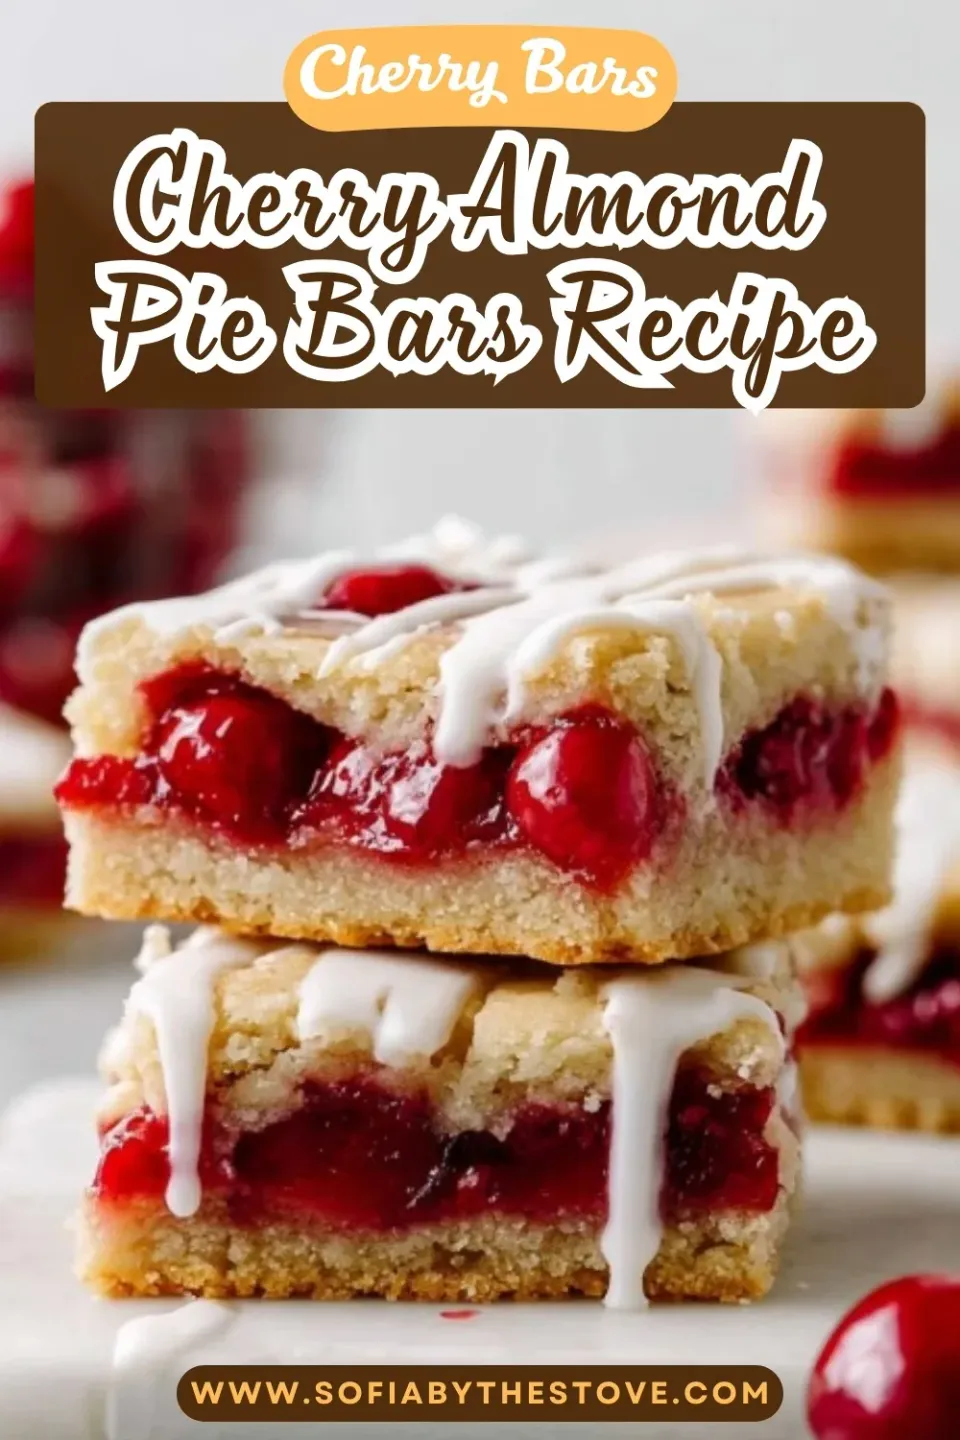

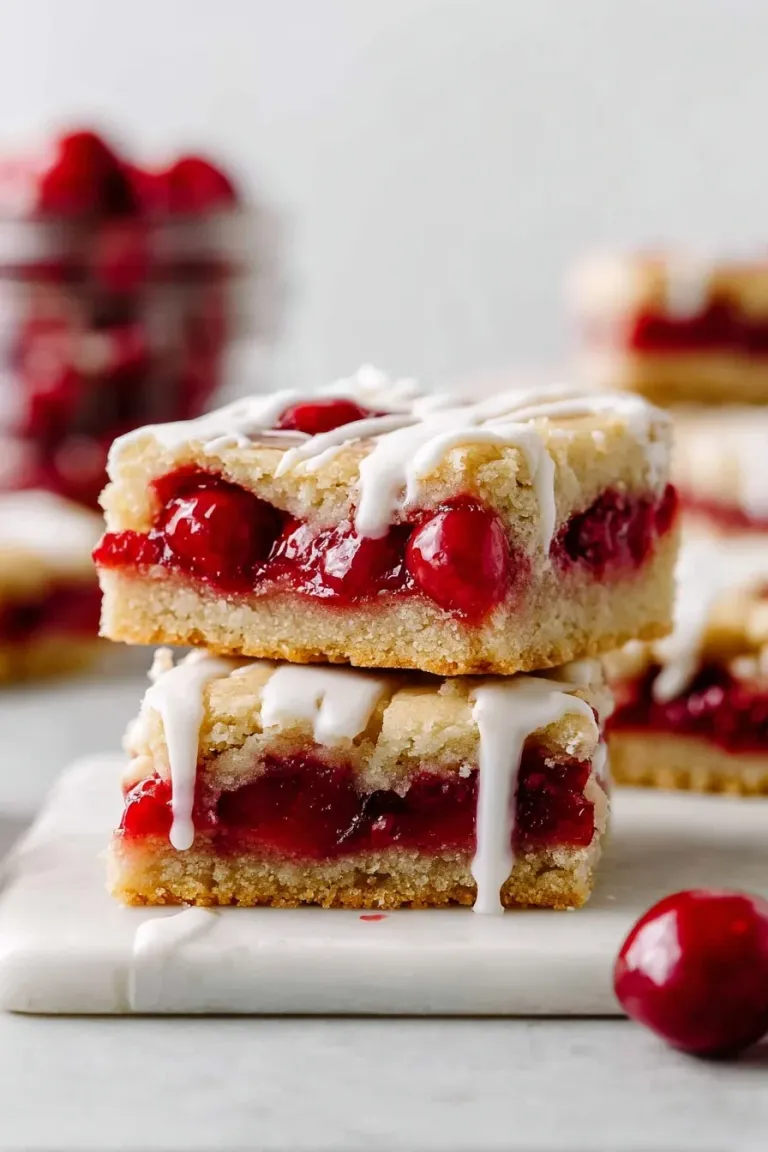
If you’re craving a dessert that’s both nostalgic and totally irresistible, you’re going to flip for this Cherry Pie Bars with Almond Glaze Recipe. It’s like your favorite cherry pie but made easy to slice, share, and savor anytime — seriously, these bars have that perfect tender crumb with juicy cherries and a dreamy almond-infused glaze on top.
Why You’ll Love This Recipe
- Comforting Nostalgia: It captures the classic cherry pie flavors you love but in a portable bar form that’s easier to enjoy anytime.
- Simple Yet Stunning: With just a handful of pantry staples, you’ll turn out bakery-quality bars topped with a luscious almond glaze.
- Crowd-Pleaser: These bars are perfect for sharing at holidays, potlucks, or whenever you want an easy dessert that’s wow-worthy.
- Versatile & Customizable: You can tweak the flavors subtly to suit your mood or what’s in your pantry, making it truly your own.
 Save
Ingredients & Why They Work
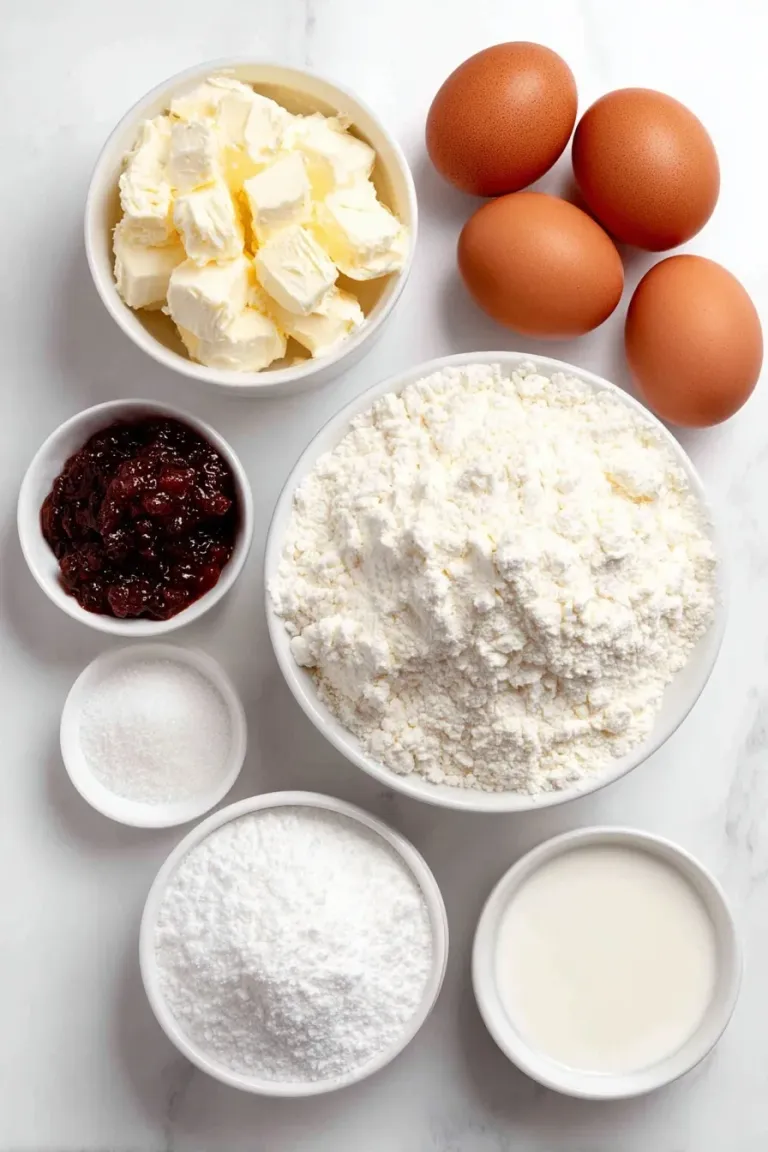
Each ingredient in this Cherry Pie Bars with Almond Glaze Recipe has a role to make the bars tender, flavorful, and perfectly balanced. Emphasize quality basics since they really shine here — like good butter and ripe cherry pie filling. Plus, the almond extract in both the batter and glaze adds such a lovely, subtle twist that you might not expect but will adore.
 Save
- Unsalted Butter: Softened butter adds richness and moisture for that tender crumb, plus it lets you control the salt level.
- Granulated Sugar: Sweetens the bars perfectly without being overpowering—balances tart cherries.
- Large Eggs: Help bind everything together while adding structure and a bit of silkiness to the batter.
- Vanilla Extract: Classic flavor enhancer that works magic alongside almond extract for depth.
- Almond Extract: Adds that signature subtle nuttiness that turns simple cherry bars into something extra special.
- All-Purpose Flour: Provides structure — make sure to measure correctly by spooning into the cup to avoid toughness.
- Salt: Enhances all the flavors and balances the sweetness.
- Cherry Pie Filling: The star ingredient, packed with sweet-tart cherries; canned filling makes it super simple and consistent.
- Powdered Sugar (for glaze): Creates a smooth, sweet drizzle that melds the flavors and adds an elegant finish.
- Milk (for glaze): Thins out the glaze to just the right drizzle consistency.
Make It Your Way
Feel free to get creative with mix-ins or spices!
- Brighten It Up: Mixing in a teaspoon of lemon zest with the batter really lifts the cherry flavor if you want a bit more zing.
- Make It Gluten-Free: Swap the all-purpose flour with a high-quality gluten-free blend, just be sure it contains xanthan gum for structure.
- Cherry Variety: Try using fresh or frozen tart cherries in place of canned pie filling if you want a fresher, less sweet bar — just cook them down with a little sugar first.
Before You Start
- Take out early: Soften 1 cup of butter.
- Pan and oven: Spray a 9×13×2-inch pan and heat the oven to 350°F (a 15×10-inch pan bakes in about 30 minutes).
- Cans: Open two 21-ounce cans of cherry pie filling.
- Plan the cooling: The bars cool completely before the glaze.
Step-by-Step: How to Make Cherry Pie Bars with Almond Glaze Recipe
Step 1: Prep Your Pan and Ingredients
First things first — preheat your oven to 350°F. Also, have your butter softened well; it mixes better and creates a smoother batter. This step saves you time and hassle later on.
Step 2: Cream the Butter and Sugar
In a large bowl, cream together the softened butter and granulated sugar until light and fluffy. If you have a stand mixer, this is the perfect time to use it, but a sturdy hand mixer works great too. This process traps air in the batter, making the bars tender and light.
Step 3: Beat in the Eggs and Extracts
Next, add in your eggs one at a time, beating after each addition so everything combines smoothly. Then stir in the vanilla and almond extracts. Almond extract adds such a subtle, wonderful depth — don’t skip it, even if it seems like just a tiny bit.
Step 4: Combine Dry Ingredients and Mix
In a separate bowl, whisk together the flour and salt. Gradually fold this into your wet mixture, mixing just until combined. Overmixing here can make the bars dense, so stop as soon as you can no longer see flour. A little rusticness on the surface is perfectly fine and tasty!
Step 5: Assemble the Bars
Spoon about three cups of the batter into your prepared pan and spread it out evenly using a spatula or your hands (just clean!). Then evenly spread the two cans of cherry pie filling over this base layer. For the top layer, drop pieces of the remaining batter across the cherry filling. It won’t be perfectly smooth—that’s part of the charm!
Step 6: Bake to Perfection
Bake for 40 minutes, or until the top is lightly golden and a toothpick inserted near the center comes out clean. If you go with a slightly larger pan, try closer to 30 minutes — but keep a close eye as ovens vary. Let the bars cool completely before glazing so that the topping sets beautifully.
Step 7: Whip Up the Almond Glaze
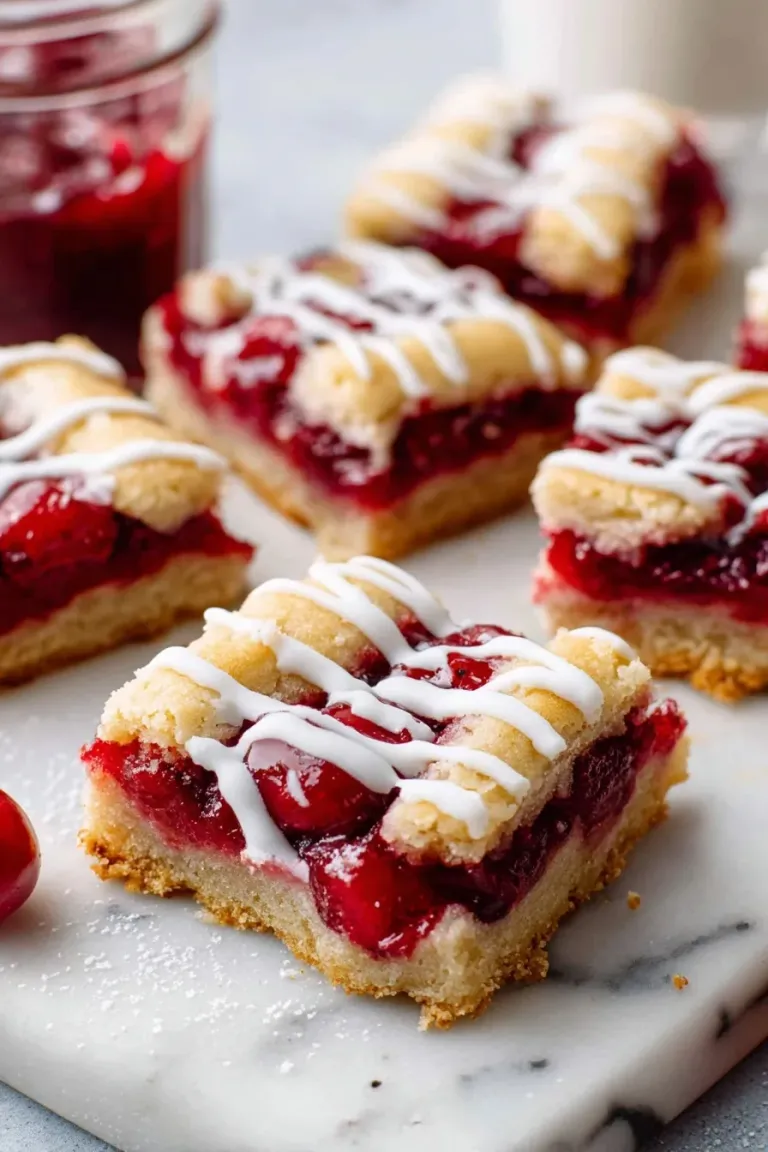
While your bars are cooling, whisk together powdered sugar, vanilla and almond extracts, plus milk until silky smooth. Drizzle this over the cooled bars using a spoon or piping bag. The glaze adds the perfect sweet finish with a lovely almond punch.
Pro Tips for Making Cherry Pie Bars with Almond Glaze Recipe
- Fruit Layer Thickness: Don’t skip spreading the cherries evenly, or some bites will be too heavy or too light with fruit. Use an offset spatula for this.
- Baking Time Awareness: If your top starts to brown too quickly, tent loosely with foil to prevent burning while the middle finishes baking.
- Cooling Patience: It’s tempting to glaze while warm, but waiting until bars are completely cool gives you those neat, pretty lines and keeps the glaze from soaking in.
How to Serve Cherry Pie Bars with Almond Glaze Recipe
 Save
Garnishes
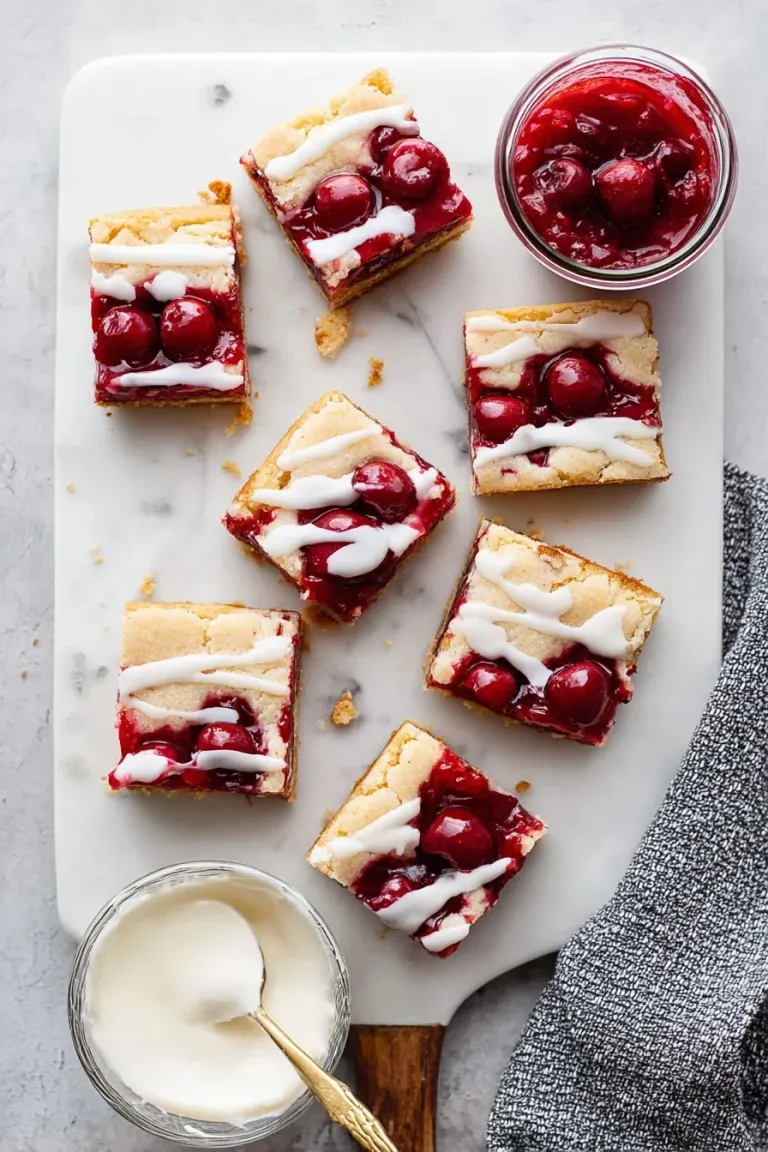
Add a few toasted slivered almonds on top of the glaze for crunch and extra almond flavor. Fresh mint leaves work nicely if serving for guests — they add a pop of color and freshness. Dust these with a little powdered sugar just before serving for extra charm.
Side Dishes
These bars pair wonderfully with a scoop of vanilla ice cream or a dollop of freshly whipped cream. For a brunch or tea party, serve them alongside a cup of hot herbal tea or a fruity lemonade — it balances the sweetness perfectly.
Creative Ways to Present
For holidays, try cutting the bars into festive shapes using cookie cutters after glazing and cooling—little hearts, stars, or even cherries to add whimsy. Arranged on a decorative platter with seasonal fresh fruit, they make a show-stopping centerpiece.
Make Ahead and Storage
Storing Leftovers
Store leftover cherry pie bars in an airtight container in the fridge, layered with parchment paper between them. They stay moist and delicious for about 4-5 days, which means plenty of time to enjoy a treat with your morning coffee or evening snack.
Freezing
You can freeze the bars too! Wrap them tightly in plastic wrap, then foil, and freeze for up to 3 months. When you want one, let them thaw overnight in the fridge — just as good as fresh for a quick sweet craving fix.
Reheating
To reheat, pop individual bars in the microwave for about 15 seconds — just enough to warm them slightly without melting the glaze. Or for that fresh-from-the-oven feel, heat them in a 300°F oven for about 10 minutes wrapped loosely in foil.