
If you’re dreaming of a whimsical twist on classic holiday treats, you’re going to adore this Candy Cane Kiss Cookies Recipe. These cookies are festive, delightful, and packed with that perfect peppermint punch that screams holiday cheer. Trust me, once you try this recipe, you’ll want to make these every season—something about the crisp candy cane bits paired with the soft cookie and that melty Hershey’s Kiss just can’t be beat.

Why You’ll Love This Recipe
- Festive Flavors: The peppermint extract and crushed candy canes give a refreshing holiday kick that’s both nostalgic and new.
- Perfect Texture: These cookies are soft and chewy on the inside but get a lovely slight crunch from those crushed candy canes.
- Easy to Make: With simple ingredients and straightforward steps, even beginner bakers can nail this treat.
- Showstopper Presentation: Topping each cookie with a classic Hershey’s Candy Cane Kiss adds that perfect, eye-catching touch.
Ingredients & Why They Work
Each ingredient in this Candy Cane Kiss Cookies Recipe plays its part in making your cookies irresistibly delicious and festive. From the creamy butter that offers richness, to the peppermint extract which truly brings the holiday magic — here’s what I use and why I think they’re so essential.
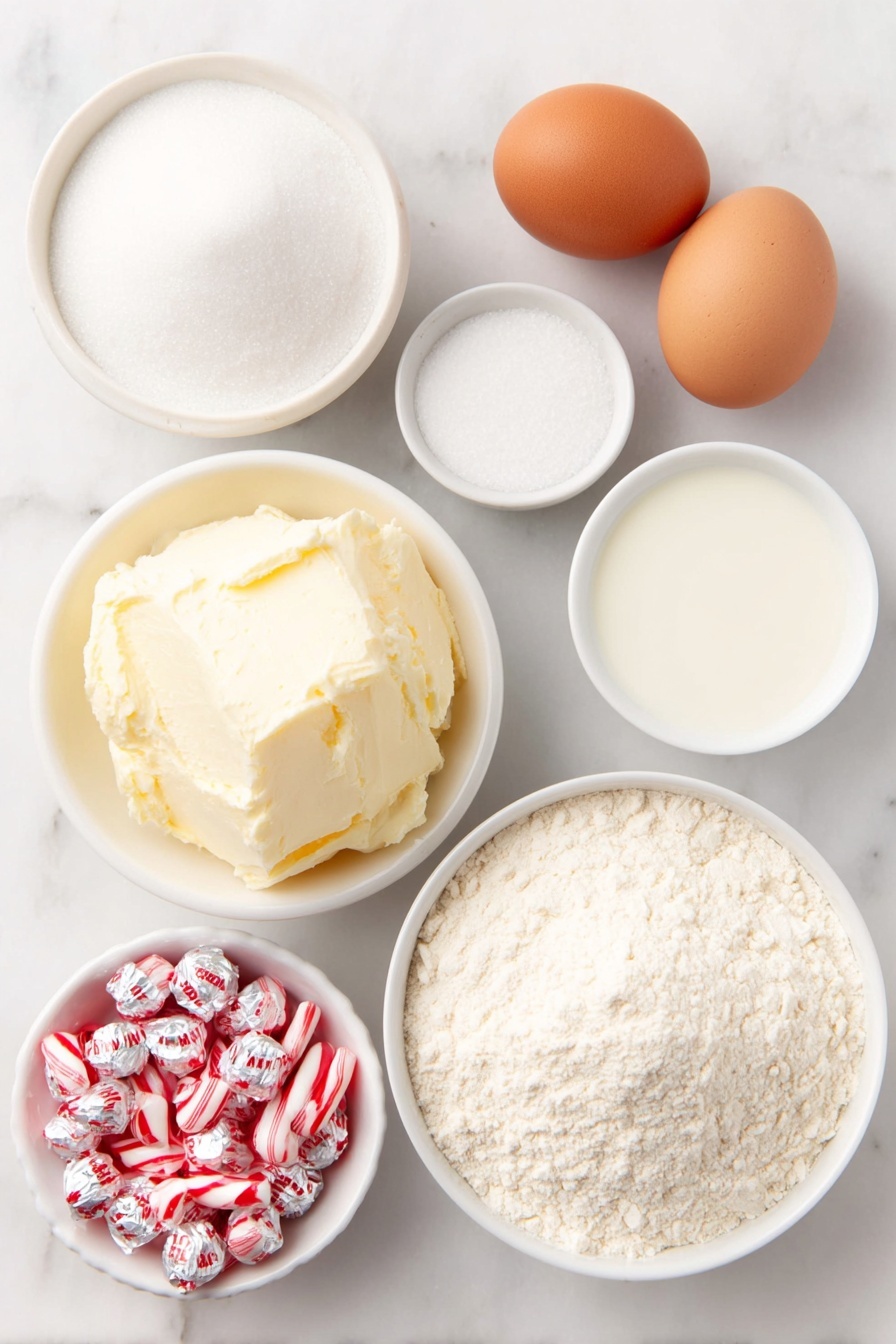
- Unsalted Butter: Softened butter forms the rich, tender base for these cookies—makes creaming with sugar easier and ensures soft, chewy results.
- White Sugar: Divided between creaming and rolling, the sugar adds sweetness and helps with texture, especially that sugar-coated outside.
- Egg: Binds ingredients and adds moisture so your cookies stay soft, never dry.
- Vanilla Extract: A touch of warmth that complements peppermint perfectly without overpowering.
- Peppermint Extract: The star player — be sure to use pure peppermint extract for that authentic, cool flavor.
- All-Purpose Flour: Forms the structure, balancing softness and chewiness just right.
- Baking Soda: Just a pinch to help the cookies rise gently and stay light.
- Salt: Enhances sweetness and balances flavor so nothing tastes one-dimensional.
- Milk: Adds moisture so the dough comes together easily but stays firm for shaping.
- Crushed Candy Canes: Provides a delightful crunch and peppermint bursts scattered through the dough.
- Hershey’s Candy Cane Kisses: The iconic topping, these candies melt slightly on warm cookies for a photo-worthy finish and rich peppermint-chocolate flavor.
Make It Your Way
While I love the classic version of this Candy Cane Kiss Cookies Recipe just as it is, I’m always experimenting with little twists. The beauty of this recipe is how adaptable it can be—feel free to tweak the peppermint intensity or swap out toppings to fit your taste or occasion.
- Variation: If you like a more subtle peppermint flavor, just reduce the peppermint extract by half. I tried this when baking for my peppermint-averse nephew, and he couldn’t stop sneaking cookies!
- Dairy-Free Version: Swap the butter for coconut oil or vegan margarine, and use a plant-based milk. I’ve done this before, and the texture stays soft and enjoyable—just a slightly different flavor profile.
- Extra Crunch: Add chopped nuts like pecans or walnuts for more texture. When I tried this, it gave a lovely contrast that even my nut-sensitive family surprisingly enjoyed.
- Seasonal Themes: Try replacing candy canes with crushed peppermint bark or colored sprinkles for different holiday vibes.
Step-by-Step: How I Make Candy Cane Kiss Cookies Recipe
Step 1: Prep and Cream (Setting the Foundation)
Start by lining two baking sheets with parchment paper—makes cleanup a breeze, and your cookies won’t stick. Then, using a handheld mixer on medium-low speed, cream the softened butter and 1 cup of sugar until fluffy. This usually takes about 1-2 minutes. You’ll know you’re there when the color lightens slightly and the mixture is airy. It’s the secret to tender cookies, so don’t rush this.
Step 2: Add Flavors and the Egg
Next, add in the egg, vanilla extract, and that precious peppermint extract. Mix everything for about a minute until well combined. The peppermint extract can be potent, so be sure to add it gradually, tasting a little batter if you’re uncertain—you want that festive zing, but not overpowering breath freshener level!
Step 3: Mix Dry Ingredients Separately
In a separate bowl, whisk together your flour, baking soda, and salt. This ensures the leavening and seasoning are evenly distributed throughout your dough, giving you consistent texture and flavor in every bite.
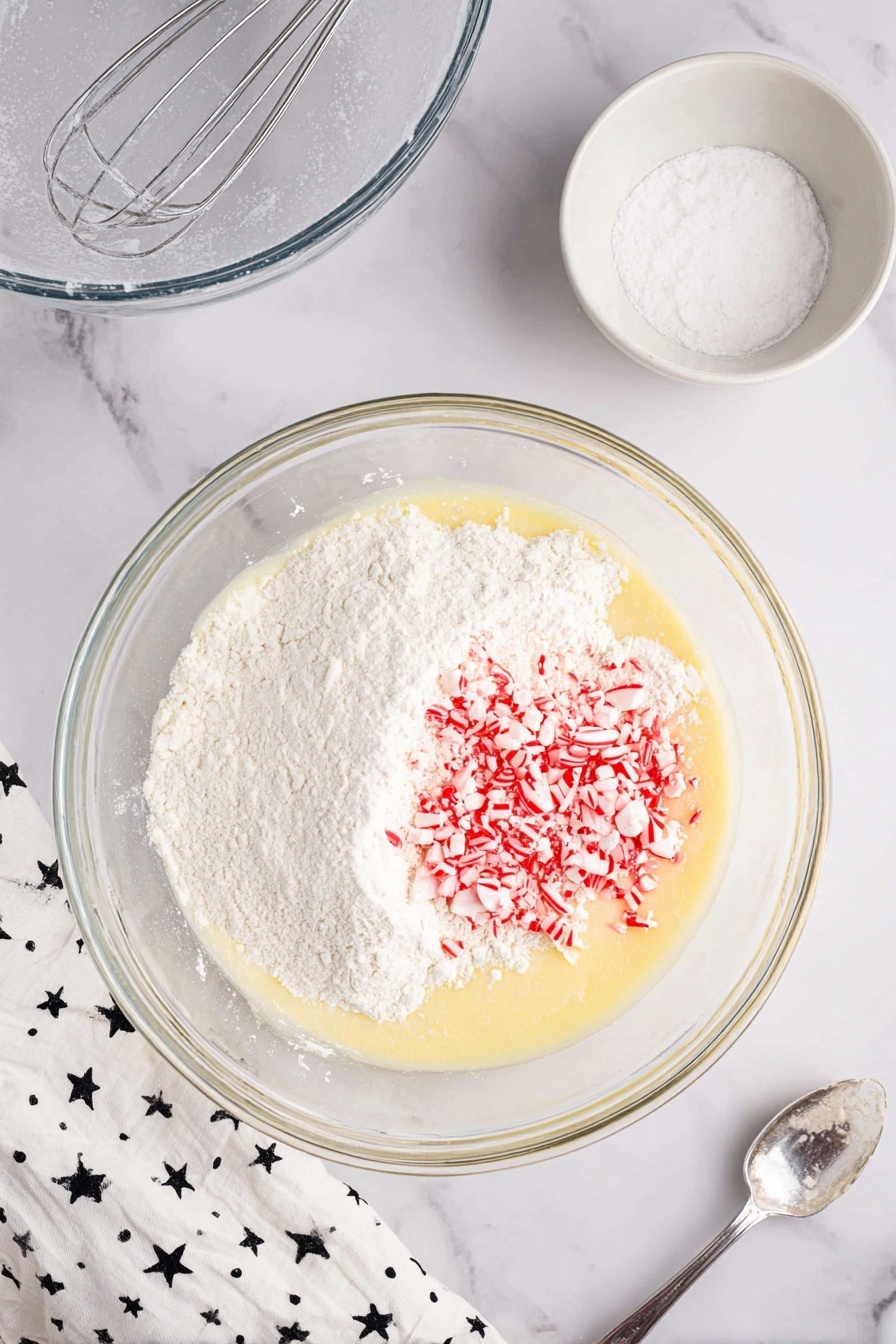
Step 4: Bring It All Together
Add the dry ingredients, crushed candy canes, and milk to the creamed butter mixture. Beat just until combined—about 30 seconds. Overmixing here can make your cookies tough, so pulse gently until you see no more streaks of flour.
Step 5: Shape and Chill Your Dough
Scoop the dough into tablespoon-sized portions, then roll each into a smooth ball with your hands. Rolling the dough helps prevent cracking and creates a better shape. Then, roll the dough balls in the remaining ¼ cup sugar to get that sparkling, sweet outside crust. Place balls about two inches apart on the baking sheets, then pop them in the fridge for at least 2 hours. Chilling solidifies the fat, which helps the cookies keep their shape during baking and enhances flavor.
Step 6: Bake and Finish With a Kiss
Preheat your oven to 375°F while the dough chills. Bake the cookies for 10 minutes, or until the centers are just set—you want them soft but firm enough to hold the Kiss. After baking, let them cool 5 minutes, then gently press an unwrapped Hershey’s Candy Cane Kiss into the center of each cookie. The warmth will slightly melt the Kiss, creating a beautiful and tasty centerpiece.
Pro Tips for Making Candy Cane Kiss Cookies Recipe
- Softened Butter is Key: Make sure your butter isn’t melted, just soft. It creams better with sugar, giving fluffy dough and tender cookies.
- Don’t Skip the Chill: Chilling the dough is essential. I once baked without chilling, and my cookies spread too much and didn’t hold the Kiss well.
- Crush Candy Canes Finely: Big candy chunks can make rolling tough. I crush mine with a rolling pin inside a zip bag for even pieces.
- Use Fresh Peppermint Extract: Old or artificial extract dulls flavor—fresh extracts bring that bright, authentic peppermint taste everyone adores.
How to Serve Candy Cane Kiss Cookies Recipe

Garnishes
I love sprinkling a little extra crushed candy cane or edible silver glitter on top after pressing in the Kiss for a sparkly finish. It’s not just pretty—it adds a tiny bit of extra texture and festivity that guests rave about.
Side Dishes
Pair these cookies with a warm cup of cocoa or peppermint-flavored coffee for a cozy holiday vibe. They also go wonderfully alongside a cheese board featuring milder cheeses, fresh fruit, and nuts for a festive party spread.
Creative Ways to Present
For parties, I like to arrange these Candy Cane Kiss Cookies Recipe treats on a tiered platter alongside fresh pine sprigs and cinnamon sticks. Wrapping bundles tied with red and white baker’s twine makes a charming edible gift. I’ve even used festive cookie tins lined with parchment and a spritz of peppermint air freshener nearby for a full sensory experience.
Make Ahead and Storage
Storing Leftovers
I store leftover Candy Cane Kiss Cookies in a sealed container at room temperature, usually on the kitchen counter. They stay fresh and soft for 5 to 7 days—if they manage to last that long! Pro tip: place a slice of bread in the container; it helps keep the cookies moist.
Freezing
These cookies freeze beautifully. I freeze baked and cooled cookies in a single layer on a tray first, then transfer them to a freezer-safe bag to prevent sticking. When ready, thaw overnight at room temperature for best texture. You can also freeze the dough balls—wrap them tightly in plastic wrap and freeze up to 3 months; bake straight from frozen, adding a couple extra minutes to baking time.
Reheating
To reheat, I pop a couple of cookies in the microwave for about 10 seconds or warm them in the oven at 300°F for 5 minutes. This melts the candy kiss slightly again and brings back that fresh-baked feel. Just don’t overheat or the cookie will get hard.
FAQs
-
Can I use regular Hershey Kisses instead of Candy Cane Kisses?
Yes, you can substitute regular Hershey Kisses if you prefer a classic chocolate finish without peppermint flavor. However, the Candy Cane Kisses complement the crushed candy canes and peppermint extract best for that true holiday vibe.
-
Why do I have to chill the cookie dough balls before baking?
Chilling the dough firms up the butter, which prevents the cookies from spreading too much while baking. This helps them hold their shape, especially important for this recipe since you’ll be adding the Kiss on top after baking.
-
Can I make this recipe without peppermint extract?
If you don’t have peppermint extract, you can skip it, but the cookies will lack that signature peppermint flavor. Consider adding an extra splash of vanilla extract or a few drops of mint oil if you have some for a subtler peppermint taste.
-
How do I prevent cookies from cracking while baking?
Rolling the dough into smooth balls and chilling them well helps prevent cracks. Also, don’t overbake—take them out as soon as the center sets to keep the cookies soft and crack-free.
Final Thoughts
This Candy Cane Kiss Cookies Recipe has become a staple at our holiday gatherings, not just because they’re festive and tasty, but because they bring people together—crumbs, peppermint kisses, and all. If you give this a try, I promise you’ll feel that same joy watching them disappear one by one. Seriously, make these for your next holiday party or winter weekend treat—you’ll be glad you did!
Print
Candy Cane Kiss Cookies Recipe
- Prep Time: 15 minutes
- Cook Time: 10 minutes
- Total Time: 2 hours 25 minutes
- Yield: 28 cookies
- Category: Dessert
- Method: Baking
- Cuisine: American
- Diet: Vegetarian
Description
Delight in festive Candy Cane Kiss Cookies that combine a soft, buttery texture with peppermint candy pieces and a classic Hershey’s Candy Cane Kiss in the center. Perfect for holiday celebrations, these cookies feature a crisp sugar coating and a refreshing peppermint flavor, baked to perfection in just 10 minutes.
Ingredients
Wet Ingredients
- ½ cup unsalted butter softened
- 1 large egg
- 1 tsp vanilla extract
- ½ tsp peppermint extract
- 2 tsp milk
Dry Ingredients
- 1¼ cup white sugar divided
- 2 cups all-purpose flour
- ¼ tsp baking soda
- ¼ tsp salt
Additional Ingredients
- ½ cup crushed candy canes
- 28 Hershey’s Candy Cane Kisses
Instructions
- Prepare Baking Sheets: Line two baking sheets with parchment paper and set aside to ensure easy cleanup and prevent sticking.
- Cream Butter and Sugar: Using a handheld mixer on medium-low speed, cream together the softened butter and 1 cup of sugar until the mixture is fluffy and well combined, about 1-2 minutes.
- Add Wet Flavors: Mix in the egg, vanilla extract, and peppermint extract, blending for another minute to incorporate fully.
- Combine Dry Ingredients: In a separate bowl, stir together the all-purpose flour, baking soda, and salt until evenly mixed.
- Mix Dough: Add the flour mixture, milk, and crushed candy canes to the wet ingredients and beat just until combined, roughly 30 seconds, taking care not to overmix.
- Form Dough Balls: Scoop the dough into tablespoon-sized portions and roll each into a smooth ball using your hands.
- Coat with Sugar: Roll each dough ball in the remaining ¼ cup of sugar to coat the outside, adding a sweet, crunchy texture.
- Chill Dough: Place the coated dough balls about 2 inches apart on the prepared baking sheets, then refrigerate them flat for 2 hours to firm up before baking.
- Preheat Oven: While chilling the dough, preheat your oven to 375 degrees Fahrenheit to ensure it’s ready for baking.
- Bake Cookies: Bake the chilled dough balls for 10 minutes or until the centers are set but still soft.
- Add Candy Cane Kisses: Remove cookies from the oven and cool for 5 minutes. Gently press an unwrapped Hershey’s Candy Cane Kiss into the center of each warm cookie, allowing it to soften slightly.
Notes
- Store leftover cookies at room temperature in a sealed container for up to 5-7 days to maintain freshness.
- For a stronger peppermint flavor, increase the peppermint extract to 1 teaspoon.
- Ensure the dough balls are well chilled to prevent spreading during baking.
- Use parchment paper or silicone baking mats to avoid sticking and make cleanup easier.
- Crushed candy canes can be substituted with peppermint chips for a different texture.
Nutrition
- Calories: 160 kcal
- Sugar: 16 g
- Sodium: 40 mg
- Fat: 7 g
- Saturated Fat: 4.5 g
- Unsaturated Fat: 2 g
- Trans Fat: 0.2 g
- Carbohydrates: 23 g
- Fiber: 0.1 g
- Protein: 1 g
- Cholesterol: 20 mg


